

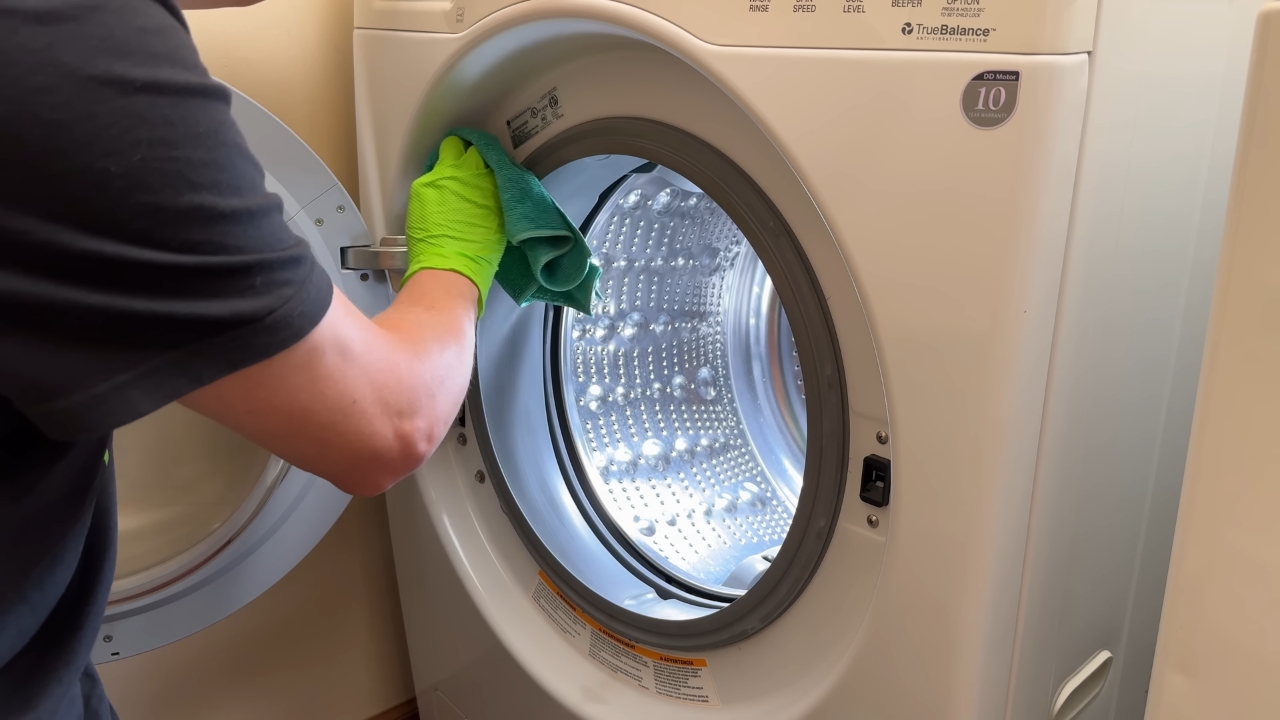
I know, a machine whose entire job is washing things apparently also needs to be washed, inspected, wiped down, aired out, and occasionally fussed over like a slightly needy houseplant.
I have accepted this.
Mostly.
I am the person in our house who notices a clean spoon in the wrong drawer, so once I learned how much damp lint, detergent residue, hair, and miscellaneous pocket archaeology can collect inside a front-loader gasket, I was never going to be able to unsee it.
In a house with two children and a husband, “miscellaneous pocket archaeology” covers a surprisingly large category.
The good news is that keeping a front load washer clean does not require turning laundry day into a chemistry experiment. Most of the work is ordinary cleaning, followed by a few small habits that help the machine dry between loads.
Why front load washers get mildew
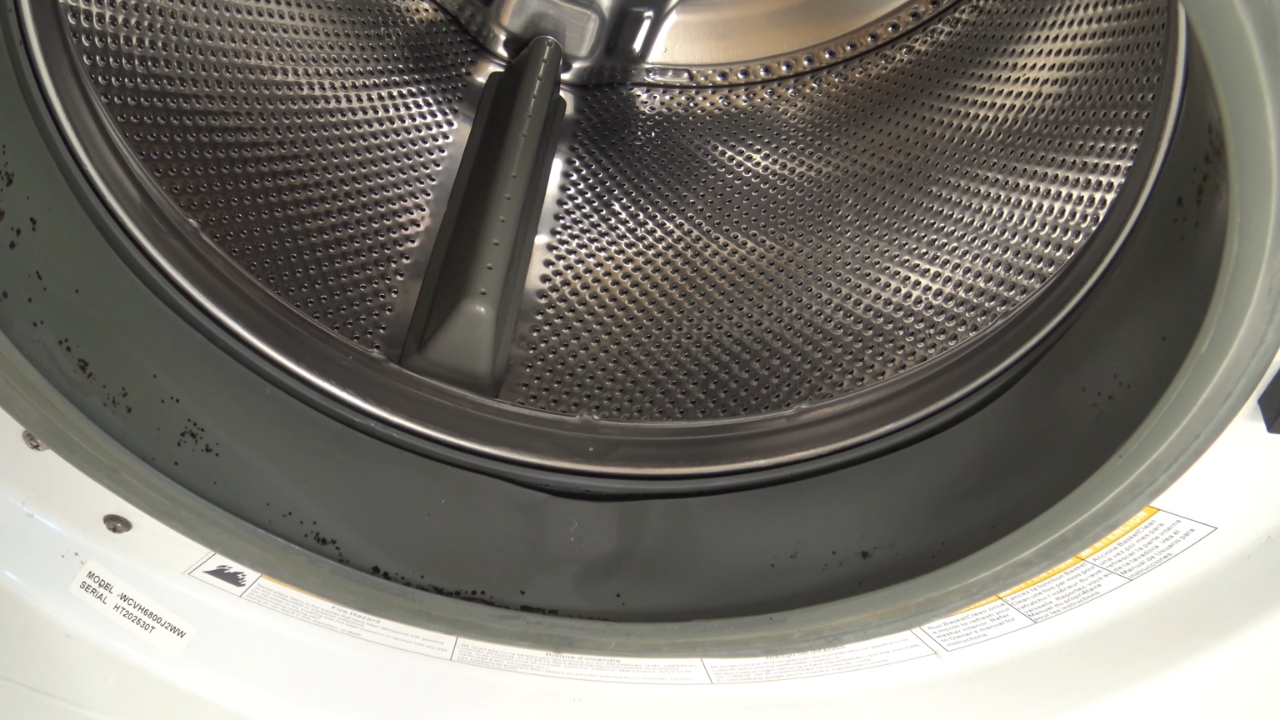
A front loader has to seal tightly around the door. That is excellent when several gallons of water are moving around inside it. It is less helpful after the cycle ends and you would quite like all that moisture to disappear.
Water can remain on the glass, inside the gasket folds, in the detergent dispenser, and elsewhere inside the washer.
Then detergent residue joins the party.
Samsung explains that trapped moisture and residue from detergent or other laundry additives can contribute to mold, mildew, and unpleasant odors. Too much detergent can make buildup worse.
This is one reason I do not subscribe to the theory that an especially dirty load deserves an emotional support splash of extra detergent.
The machine does not know that the soccer clothes offended you personally.
Use the correct amount!
Wet laundry left sitting in the drum, a closed door, a damp dispenser, and debris around the gasket can all keep the interior wet for longer. Usually there is no single villain. The smell develops because several small areas remain damp again and again.
If the odor has already appeared, the causes behind a washing machine that smells can also include buildup in the drain system, filter, or other areas that stay wet after a cycle.
And damp little hidden corners are exactly the sort of thing I notice.
I am not disinfect-the-mail germ-conscious. I am, however, absolutely pull-back-the-rubber-fold-and-see-what-is-living-under-there conscious.
What you need to clean a front load washer
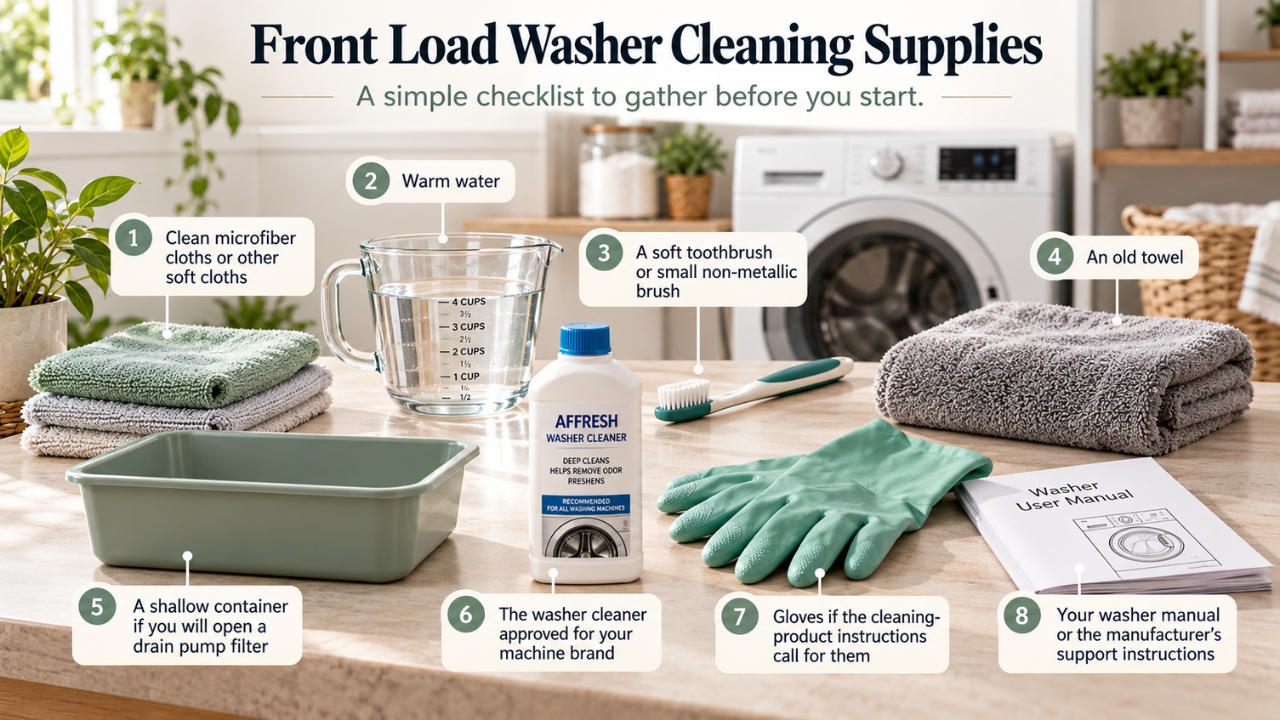
You do not need to empty the cleaning cabinet onto the laundry-room floor.
- Clean microfiber cloths or other soft cloths
- Warm water
- A soft toothbrush or small non-metallic brush
- An old towel
- A shallow container if you will open a drain pump filter
- The washer cleaner approved for your machine brand
- Gloves if the cleaning-product instructions call for them
- Your washer manual or the manufacturer’s support instructions
I am usually very receptive to cheap fixes.
Before I replace something in this house, I am likely to ask if it can be painted, moved, cleaned, tightened, reorganized, or persuaded into a completely different job.
A washing machine is where I become much less adventurous.
I do not automatically pour vinegar, baking soda, bleach, and whatever else the internet has decided is magical this week into an expensive appliance full of rubber seals, hoses, pumps, and parts I have no desire to replace.
Manufacturers do not all give the same advice.
For example, Bosch specifically advises against using vinegar in its washing machines because it may damage rubber parts over time.
So this is one of those rare household situations where I am happy to let the manual win the argument.
How to clean a front load washer step by step
Before adding anything to the machine, have a proper look inside it.
A cleaning cycle cannot remove a hair tie physically trapped inside the gasket. It cannot rescue a coin. It cannot explain why there is a tiny sticker stuck to the glass that nobody in the family remembers seeing before.
You need your eyes for those jobs.
1. Empty the drum and inspect it
Remove everything from the washer.
Turn the drum slowly and look for loose debris or objects that do not belong there. Check the door glass and the visible edge of the gasket too.
Common finds include lint, hair, tissues, labels, coins, buttons, and small objects that apparently have developed remarkable survival skills.
My children have taught me that pockets should never be trusted merely because somebody says, “I checked them.”
If there is standing water inside the drum because the washer has failed to drain, stop treating the problem as ordinary cleaning. Deal with the drainage issue first.
Running another cleaning cycle through a machine that cannot empty itself is not optimism. It is just giving the water another lap.
2. Clean inside the rubber door gasket
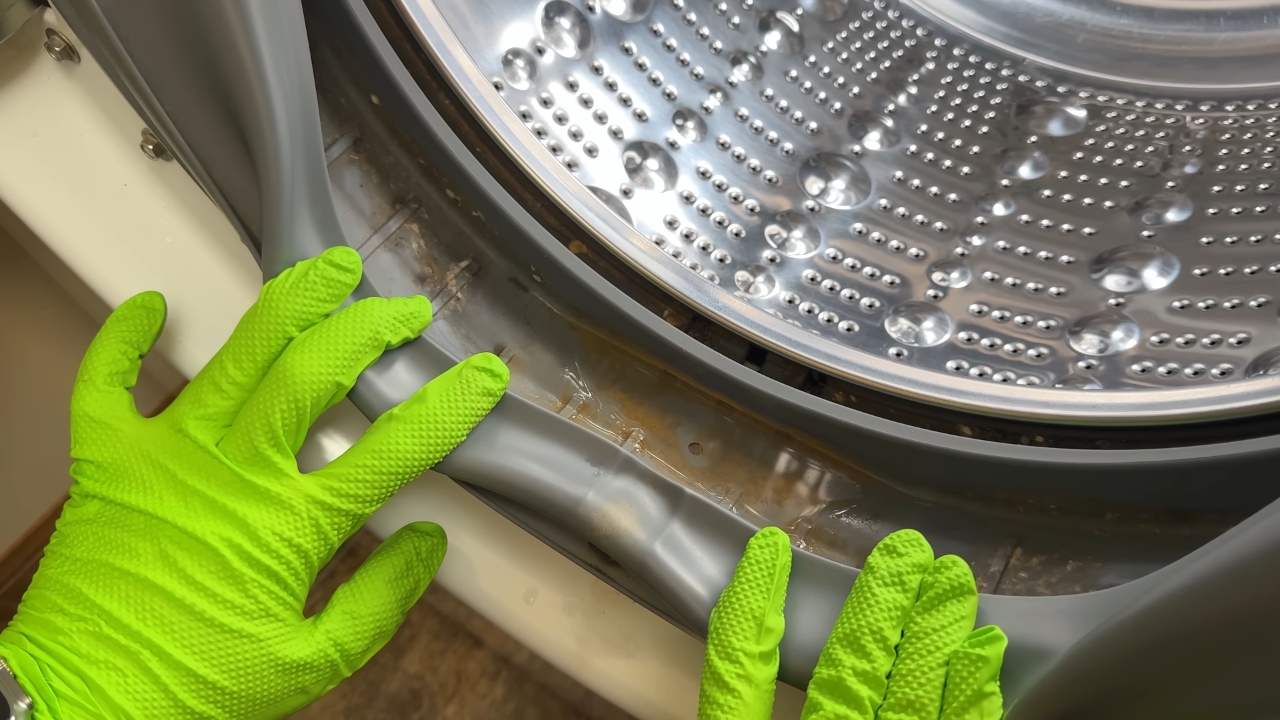
This is the part I would inspect first if the washer had developed a musty smell.
The gasket looks innocent when you glance at it from the doorway.
Do not trust it.
Gently pull the rubber folds back and work your way around the opening. Pay particular attention to the bottom section, where water, hair, lint, and small debris tend to collect.
- Remove lint, hair, and loose objects
- Wipe away pooled water
- Clean under the rubber folds
- Keep visible drainage holes or channels clear
- Wipe the area where the gasket meets the door glass
For the lower fold and hard-to-reach creases, my front load washer gasket guide covers each section in detail.
LG currently includes the door gasket alongside the dispenser, drain pump filter, and Tub Clean cycle in its front-loader maintenance guidance.
That makes sense once you see how much of the washer exists outside the shiny metal drum we tend to think of as “the washing machine.”
If you see dark staining, do not immediately escalate to the strongest chemical you own.
Clean according to the instructions for your washer first. Some discoloration may remain after removable residue is gone.
If you find black flakes on your laundry, check the hidden areas of the washer before you blame the clothes.
3. Remove and clean the detergent drawer
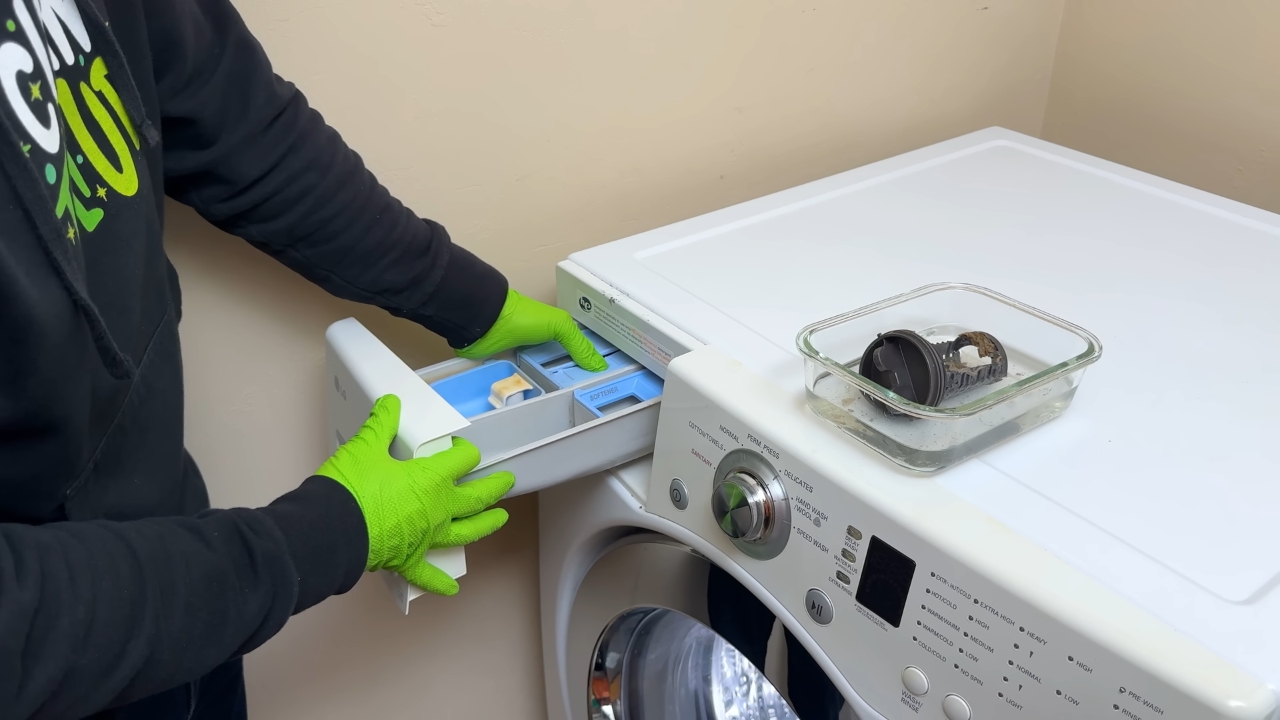
The detergent drawer is one of my favorite household examples of something looking perfectly respectable until you pull it out.
Then suddenly there are corners.
So many corners.
- Remove the drawer according to your washer instructions. Many have a release tab, but dispenser systems vary, so do not yank at one that clearly has other plans.
- Take out any inserts that are meant to be removable.
- Rinse the pieces with warm water and use a soft brush to loosen detergent and fabric-softener residue around channels, edges, and awkward little recesses.
- Then look inside the cavity where the drawer normally sits. Wipe away reachable buildup from the sides, upper surface, and back.
Let the pieces dry before reassembling them.
This is also where my slightly germ-conscious side and my organizing side become unusually good friends. One wants the sticky residue gone. The other is deeply satisfied by all the little plastic pieces going back exactly where they belong.
Everybody wins.
4. Check the drain pump filter if your washer has one
@carolina.mccauley 💡 How to clean pump and filter on a front loader washer 🍃 #homehacks #homehackswithcarolina #cleaninghacks ♬ Kiss Me More (feat. SZA) – Doja Cat
Some front loaders have a pump filter that the owner is expected to clean. Others do not give you the same kind of access.
- Check the manual before opening anything. This is not the stage for discovering your inner appliance engineer.
- If the filter is user-accessible, you may need to turn off the machine, open a small lower panel, drain residual water through a hose, and then remove the filter.
- Get the towel and shallow container ready before you start.
Not halfway through.
Before.
I emphasize this because washing machines possess an almost comic ability to contain more hidden water than the person opening them expects.
- If the washer has recently completed a hot cycle, let the water cool before opening the filter area.
- Once it is safe, clean the filter as directed and reinstall every cap and component securely.
If your manual does not show a user-accessible filter, leave the panels alone.
5. Run the washer cleaning cycle
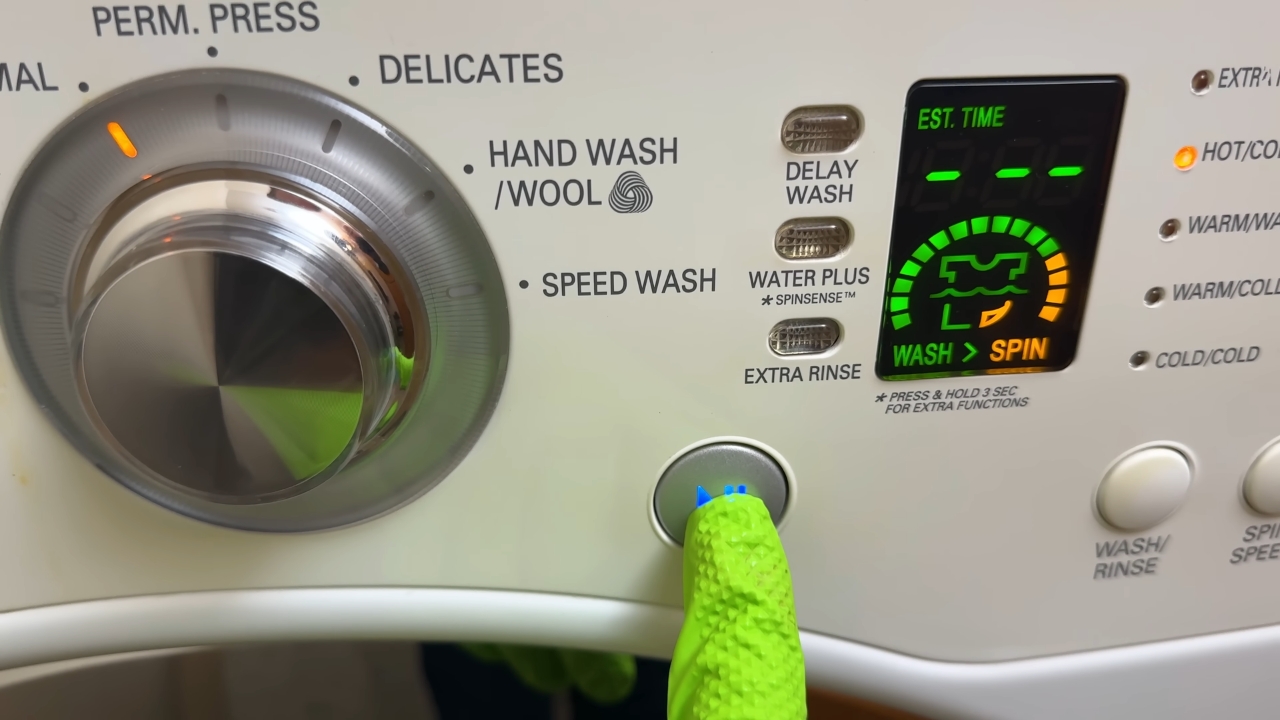
Once the parts you can reach are clean, run the machine’s dedicated cleaning program.
Depending on the brand and model, you might see names such as:
- Tub Clean
- Self Clean
- Self Clean+
- Pure Cycle
- Clean Washer
- Clean Washer with affresh
Keep the drum empty.
Then follow the instructions for your exact machine and cleaning product.
Where the cleaner goes matters.
For example, LG gives different placement instructions for liquid, powder, and tablet cleaners. A tablet goes directly into the drum on the models covered by that guidance.
6. Inspect the washer again
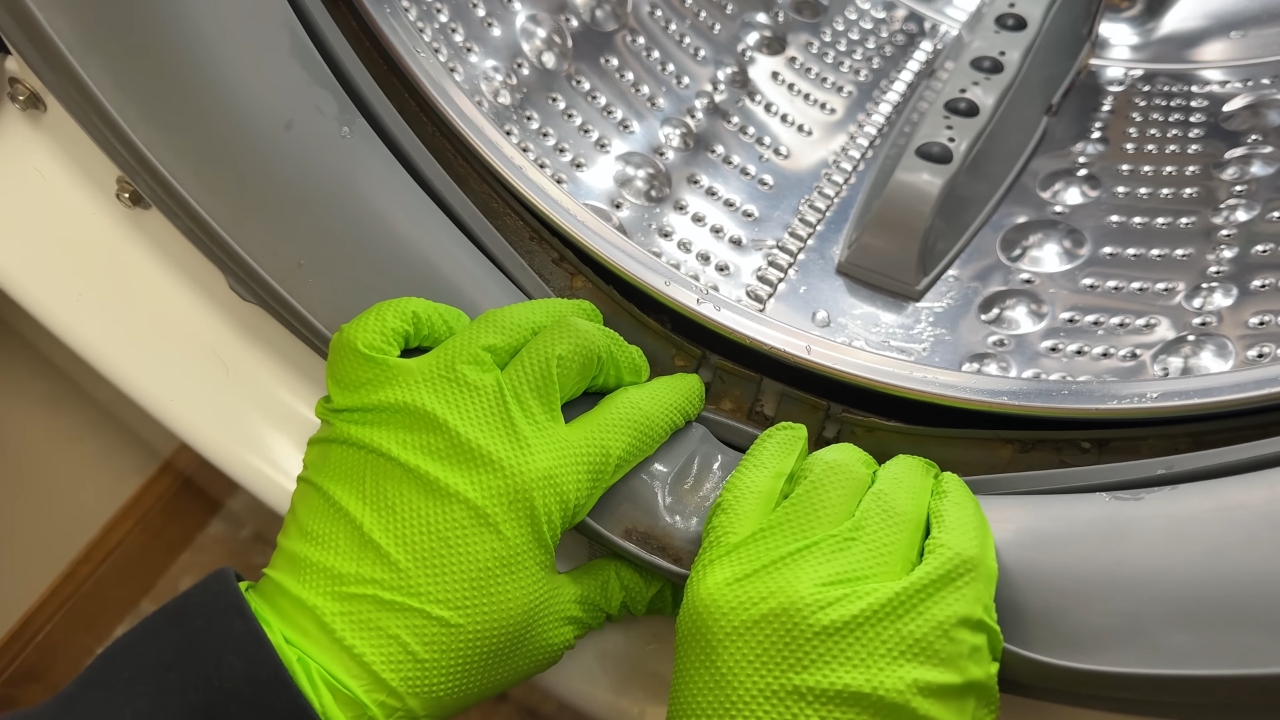
When the cleaning cycle ends, open the door and look again.
Wipe the drum, glass, and gasket.
Pull back the lower gasket fold one more time and remove anything the cycle loosened.
This takes a minute.
It also scratches the same part of my brain that makes me straighten a picture frame after walking past it three times pretending I have not noticed.
There is actually a reason cleaning feels good once you finally deal with the small mess that has been bothering you.
Once I have seen the residue, the day cannot continue normally until the residue is gone.
7. Dry the parts that stay wet
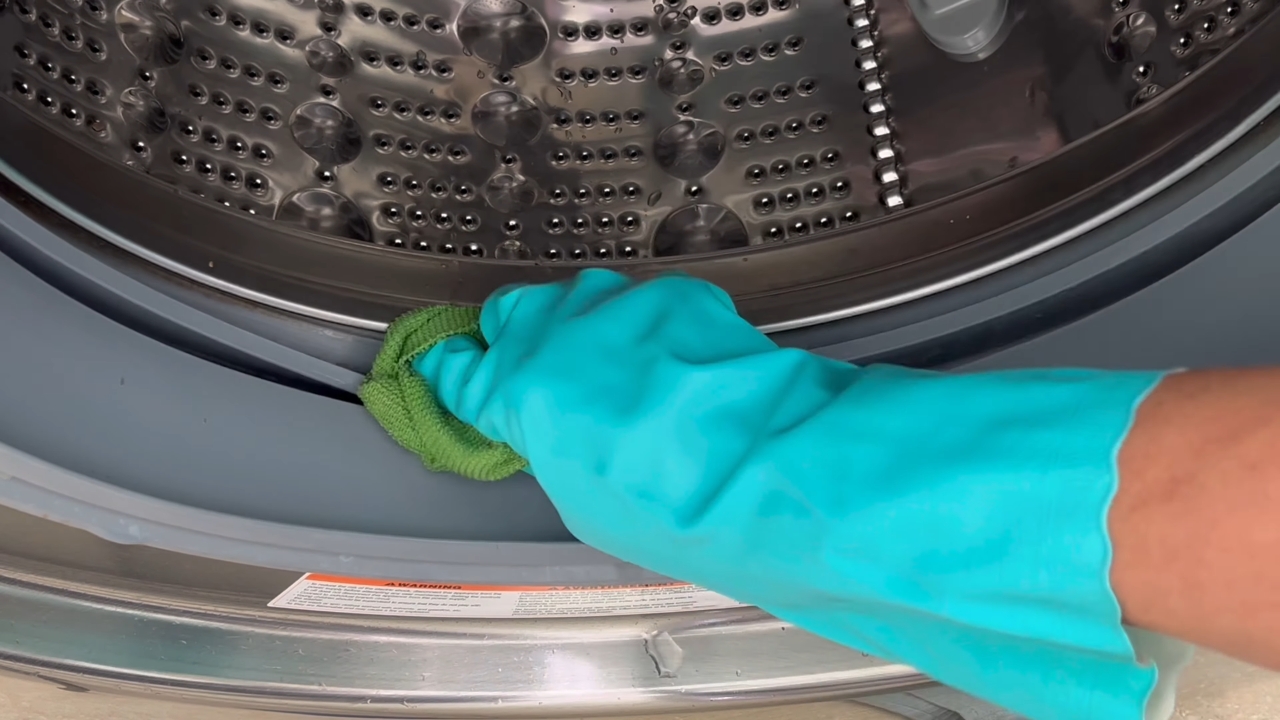
Now we get to the part that prevents a large percentage of the future annoyance.
- Dry the lower gasket and wipe obvious moisture from the glass.
- Leave the detergent drawer slightly open so the compartment can dry.
If your manufacturer recommends it and it is safe in your home, leave the washer door ajar too.
I do not leave ours flung wide open across the laundry area like an obstacle course.
And yes, with children in the house, safety wins over my desire for maximum airflow. Every time.
What should you use to clean a front load washer
There is no single cleaner I would automatically use in every front-loading machine.
I know the internet would prefer one.
The internet loves a substance that apparently cleans the washer, oven, grout, shower screen, garden furniture, sneakers, and possibly your taxes.
Appliance manufacturers are less universal.
Cleaner
When it may be suitable
What to check first
Manufacturer-approved washer cleaner
When your washer instructions recommend a cleaning product
Correct quantity, placement, and cleaning cycle
Affresh
When approved for your machine
Tablet placement and cycle instructions
Chlorine bleach
Only when your manufacturer permits it for the cleaning job
Quantity, compartment, ventilation, and model restrictions
Vinegar
Only when the manufacturer permits it for that specific task
Warnings concerning seals, hoses, and other materials
Baking soda
Only where the machine instructions allow it
Manufacturer guidance before putting it in the drum or dispenser
I use plenty of cheap household solutions elsewhere.
Paint has rescued furniture in this house. Rearranging a room has saved me from buying something new more times than I can count. An inexpensive basket has solved storage problems that apparently required a full renovation if you believed my mood that morning.
But “cheap and clever” stops being clever when it damages the expensive thing you were trying to maintain.
Different manufacturers may provide different instructions for particular parts or models.
Check yours.
Do not start mixing cleaners
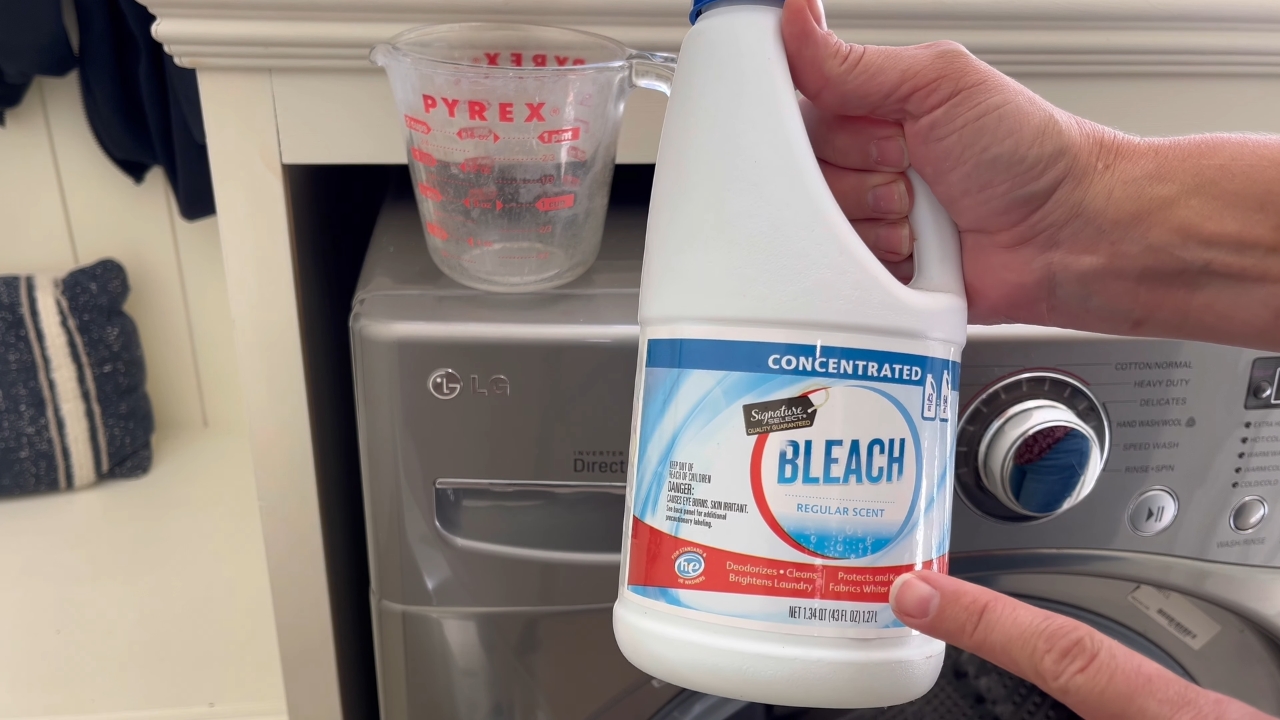
This deserves its own section because cleaning enthusiasm and chemistry are not always good roommates.
Safety warning: Never mix household bleach with other cleaners or disinfectants. The CDC warns that mixing bleach with other cleaning products can release dangerous vapors. Follow the product label, use good ventilation, and follow the washer manufacturer’s instructions.
I like a clean house.
I do not like it enough to create a small chemical incident in the laundry room.
If your machine permits bleach, my guide on how to clean a washing machine with bleach explains the precautions, but the amount and dispenser must always match your manual.
A front load washer routine I can actually remember
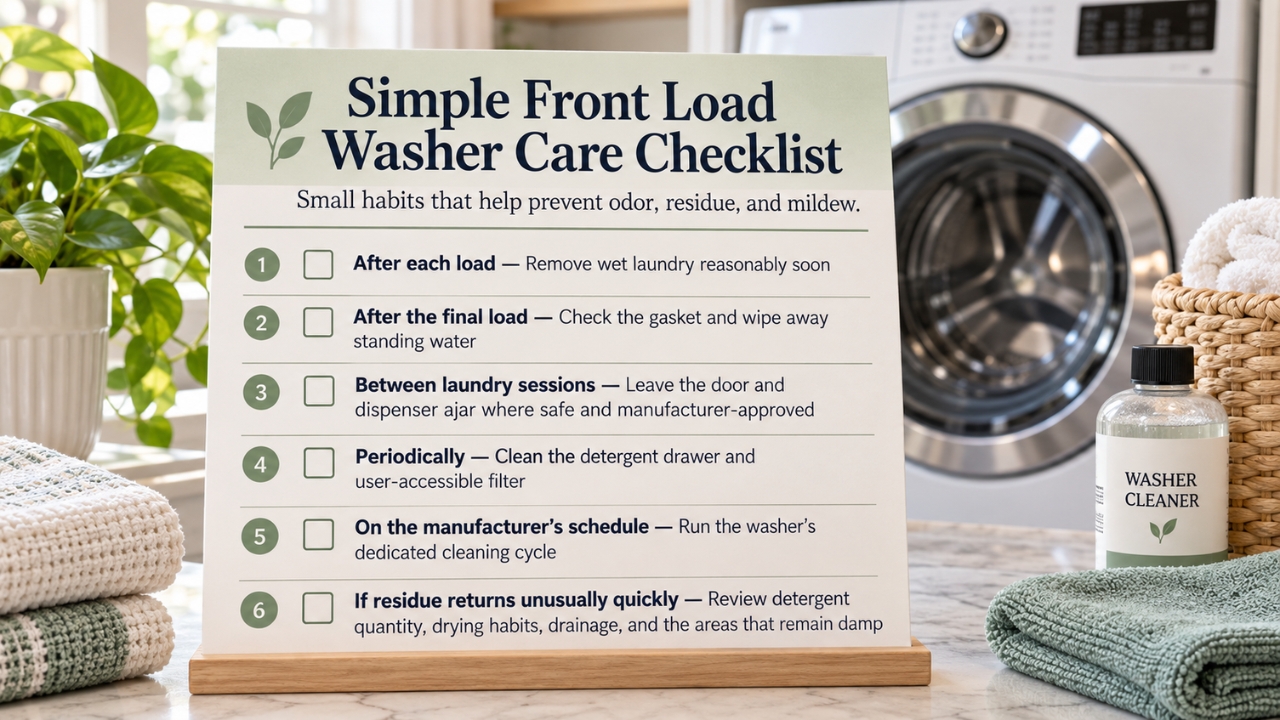
I have discovered that there are two kinds of household routines.
There are routines designed for actual human beings.
Then there are routines that look beautiful on printable schedules and quietly collapse by Wednesday.
I need the first kind.
When
What I do
After each load
Remove wet laundry reasonably soon
After the final load
Check the gasket and wipe away standing water
Between laundry sessions
Leave the door and dispenser ajar where safe and manufacturer-approved
Periodically
Clean the detergent drawer and user-accessible filter
On the manufacturer’s schedule
Run the washer’s dedicated cleaning cycle
If residue returns unusually quickly
Review detergent quantity, drying habits, drainage, and the areas that remain damp
That is about as complicated as I want washer maintenance to become.
For the exact interval, including what LG, Samsung, and Whirlpool recommend, see my guide to how often you should clean your washing machine.
I am already capable of turning the linen cupboard into a three-hour organizing project, which is probably why the idea of a Marie Kondo tidy house has always made perfect sense to me.
The washing machine does not need the same opportunity.
Why the cleaning cycle changes by brand
The general idea is similar across front loaders, but your machine also gets a vote.
The exact instructions by the brand can change quite a lot.
LG front load washers
View this post on Instagram
Many LG front loaders use a Tub Clean cycle.
LG currently recommends combining Tub Clean with maintenance of areas such as the door gasket, detergent dispenser, and drain pump filter. Cleaner placement also changes depending on the product type.
If you have an LG, follow the model-specific procedure rather than assuming every cleaner goes into the dispenser.
Samsung front load washers
Samsung machines may use Self Clean, Self Clean+, or Pure Cycle.
Samsung also distinguishes between routine Self Clean maintenance and the procedure used when there is already a mildew smell or visible mold.
That difference matters.
Samsung’s current mold and mildew instructions give specific bleach directions for that situation, which should not be casually transferred to another brand or another cleaning job.
Whirlpool front load washers
Whirlpool models may use a Clean Washer or Clean Washer with Affresh cycle.
Whirlpool’s current front-loader guidance recommends checking the machine’s use and care guide, cleaning the gasket and dispenser, and allowing airflow between washes.
I spent eleven years with a Whirlpool front loader, so I have a separate guide on how to clean a Whirlpool washer, including the Affresh cycle, door seal, and a few lessons I learned the hard way.
Maytag front load washers
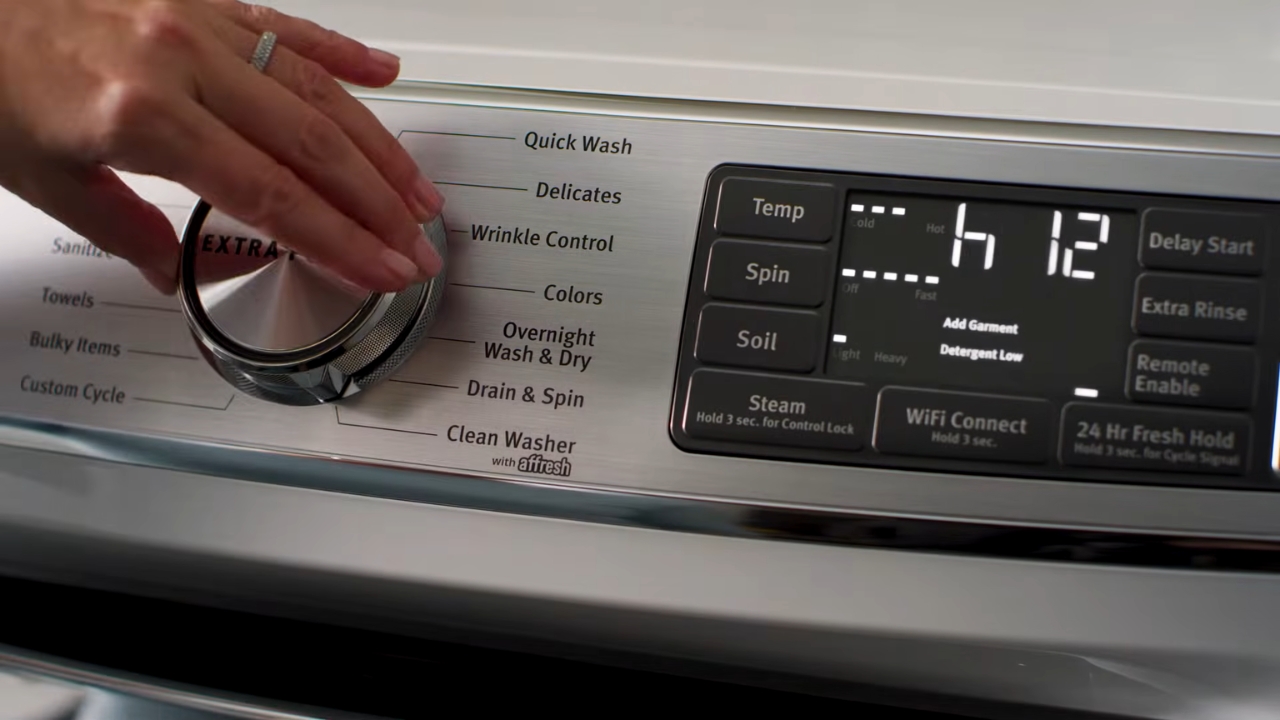
Maytag also uses Clean Washer on some machines and commonly recommends Affresh where the model instructions allow it.
Maytag notes that bleach is not suitable for every front-loading model, which is another good reason not to copy a generic washer-cleaning recipe.
Bosch front load washers
Bosch is the brand I would point to whenever somebody tells me vinegar is automatically safe because it is “natural.”
Natural is not the same thing as compatible with every material.
Bosch specifically warns that vinegar and citric acid can damage rubber components over time and recommends its washer cleaning products instead.
That one manufacturer warning is enough to ruin the idea of a universal homemade washer cleaner.
Sorry, internet.
The few seconds after laundry are the most important
@renduh The basics of preventing mold in a front load washing machine! It’s also important to run a washing machine cleaner (like Affresh, Active, Lemi Shine, Glisten, etc.) through your machine once a month so that mold doesn’t build up in the areas you CAN’T see 😉 #laundry #Laundry101 #WashingMachine #ApplianceRepair #HomeMaintenance ♬ original sound – Renae
I have learned that household routines worth keeping fit real life. Anything requiring everyone to behave like a catalog stylist will fail by Tuesday.
With the washer, I keep it simple: take out the clothes, check the gasket, wipe away pooled water, and leave the dispenser cracked open. I can manage that.
The machine will still need its cleaning cycle, and the drawer and filter will still need attention. But controlling moisture and detergent buildup between deeper cleans makes mildew less likely.
I do not need the washer to look untouched. I just need it clean, working, and not horrifying.